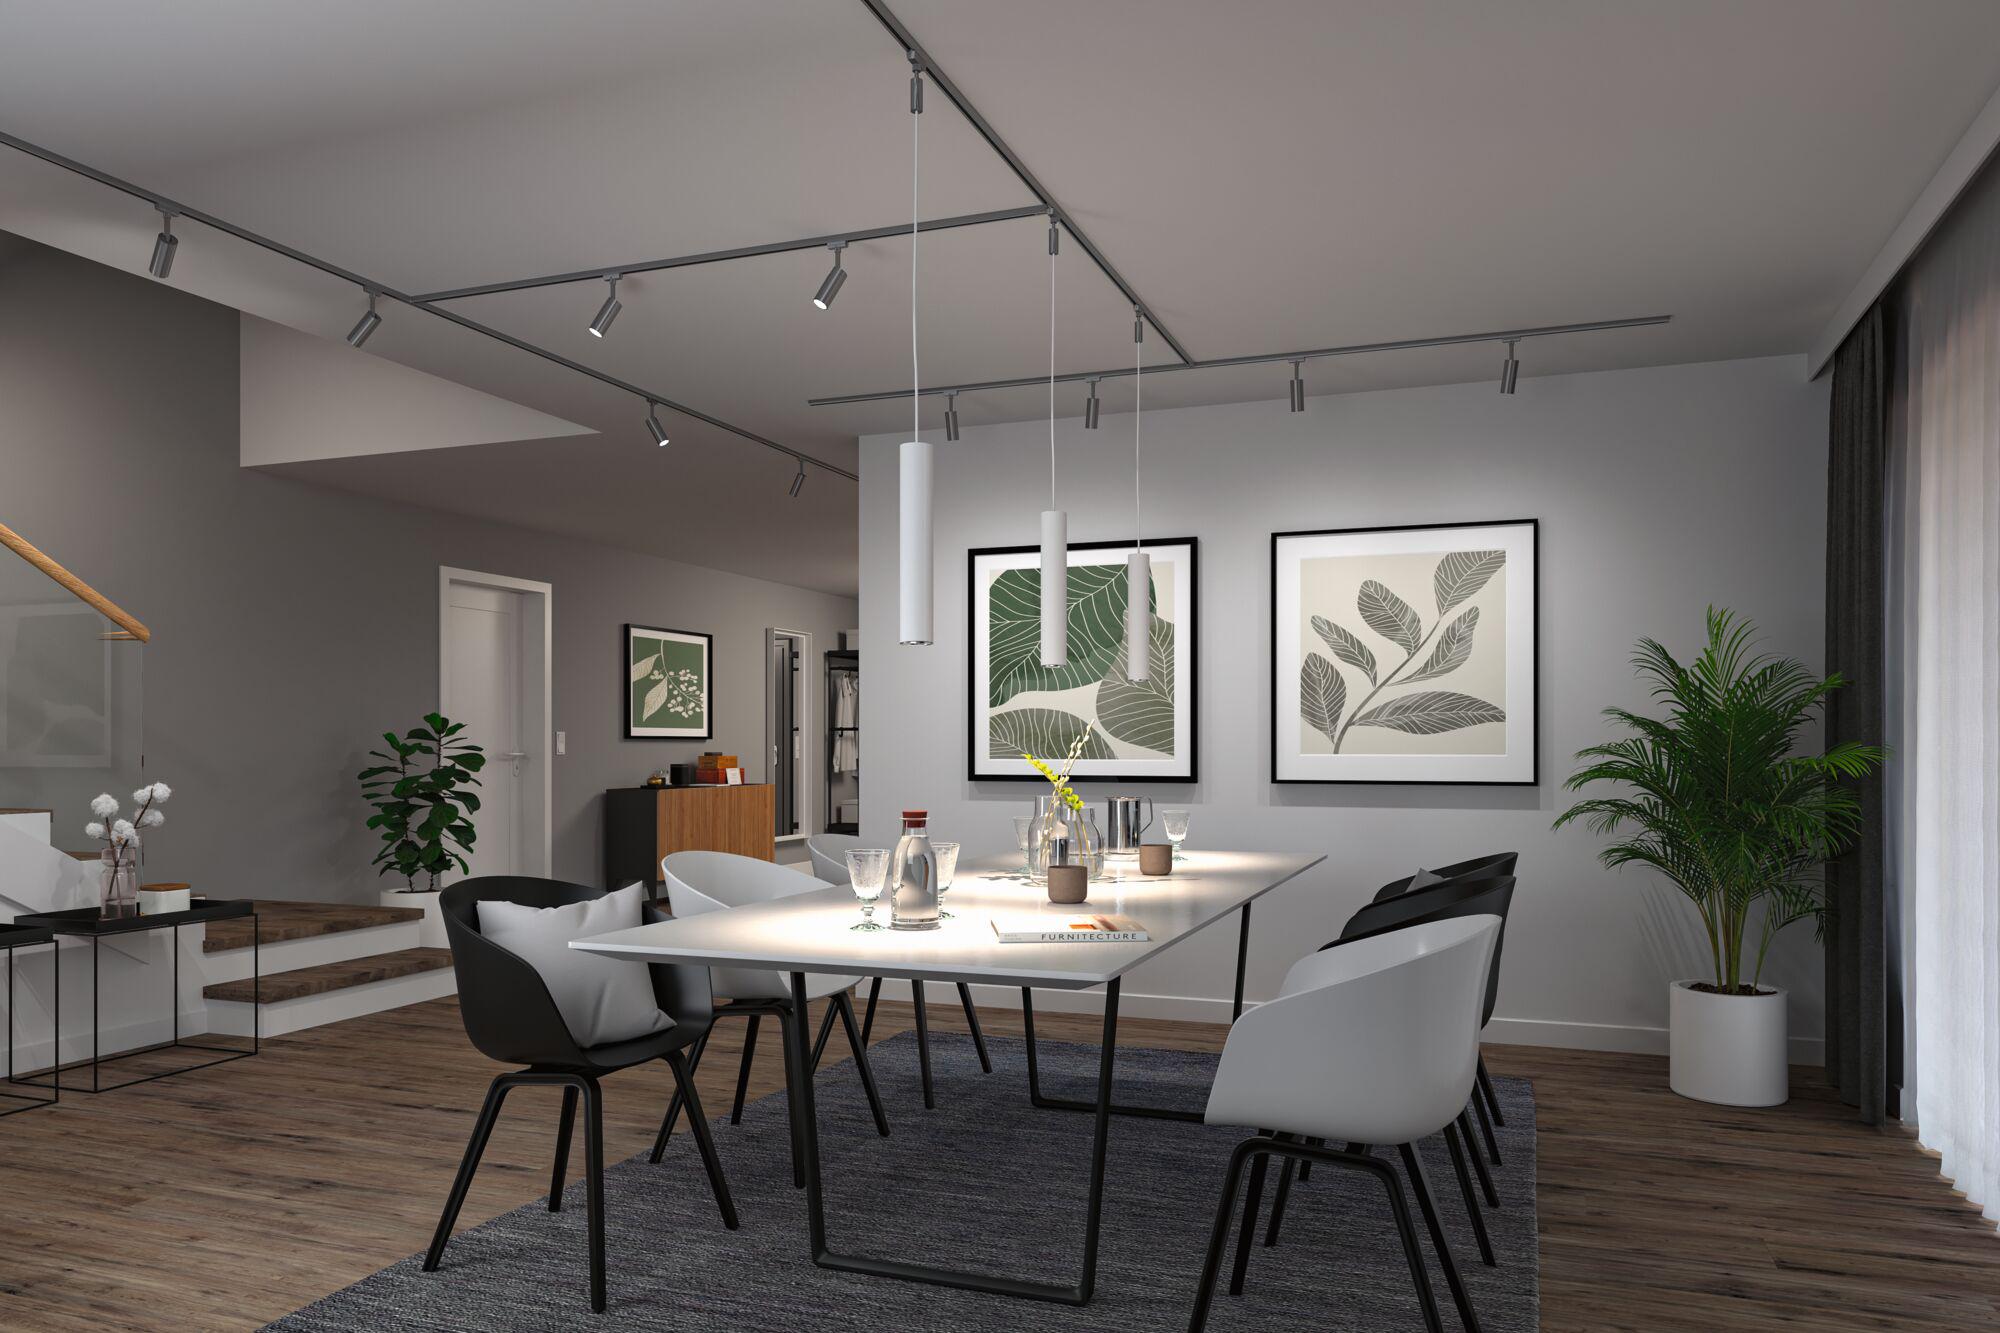
The single-phase URail system offers the greatest possible flexibility for your lighting concepts. You can use it to install modern pendant luminaires over the dining table, swivelling spots for the targeted illumination of your shelves, pictures and workspaces, or to add panel luminaires for uniform lighting of your entire room with warm white or neutral white light.
Whatever you prefer: the timeless look of matte chrome, minimalist
signal white, or statement black – there are over 100 types of URail spots, pendants, and smart accessories to create your custom lighting system.
Best of all: The URail system is mounted directly over the power outlet, meaning that you won’t need a transformer. Here you will find a detailed description of the installation steps for your URail system.
How do I choose the right URail rail segment?
The rail elements are available in the lengths 0.1 m, 0.5 m, 1 m, 1.5 m and 2 m. They can be connected to a length of 20 m in two directions from the power infeed point, and support a max. load of 1000 W in total. The rails are available in the system colours chrome matt, white, and black matt.
How do I choose the right power feed and connectors?
URail connects directly to the power supply without any need for a transformer. The power infeed conducts the electricity directly into the rails. You have a choice of middle, end, or cable infeed for power. A cable infeed supplies power to the rails if the power outlet is not located directly along the planned routing of the rails. An end power feed is ideal if the power infeed is located at one endpoint of the system. You will need connectors to interlink the individual rail sections. Here you have a choice of internal inline connectors for straight connections, L, T, or Flex connectors to suit the lighting requirements of any space. These products allow you to connect the rails to the infeed, or the rails with each other.
How do I choose the right spot or the right pendant?
Spots and pendants can be easily installed or added at a later date. There is a huge selection of dimmable and non-dimmable products available, including luminaires, spots with non-replaceable or replaceable lamps and replaceable shades, pendant luminaires, or LED panel luminaires. All in all, you can create the perfect illumination for your living spaces.
How do I choose the right accessories?
Select from a wide range of accessories to suit your needs and make your rail system even more unique. For example, you can hang your rail system from the ceiling. Depending on the ceiling height, there are several mounting options available: the rails can either be attached directly to the ceiling or mounted at various distances from the ceiling using rail hangers, rod hangers or cable hangers. In addition, you can also make URail smart with the smart power supply, spot adapters or smart light sources. Smart control is then carried out via the Paulmann Gent 2 remote control, the Paulmann smik app or voice control (Amazon Alexa or Google Echo). It is also possible to fit the rail with a cover. The 68 cm long rail cover protects the interior of the URail rail from dust and foreign objects. With this and many other accessories, you can plan your URail system according to your needs.
Sign up, receive our newsletter and save 30% on Black Friday
Take advantage of this opportunity and secure a 30% discount on our entire range early. Simply sign up for our newsletter and be the first to receive exclusive Black Friday offers!
Create the perfect solution for your room situation with just a few clicks. The configurator gives you a clear list of items for your bespoke system, which you can save, print or order right away.
Would you like to be informed about interesting offers, discounts and useful tips on the subject of lighting? Register today to receive our free newsletter and always stay up to date!